Arisha's Inspiration Corner
A little blog to share crafts, recipes and ideas with you x
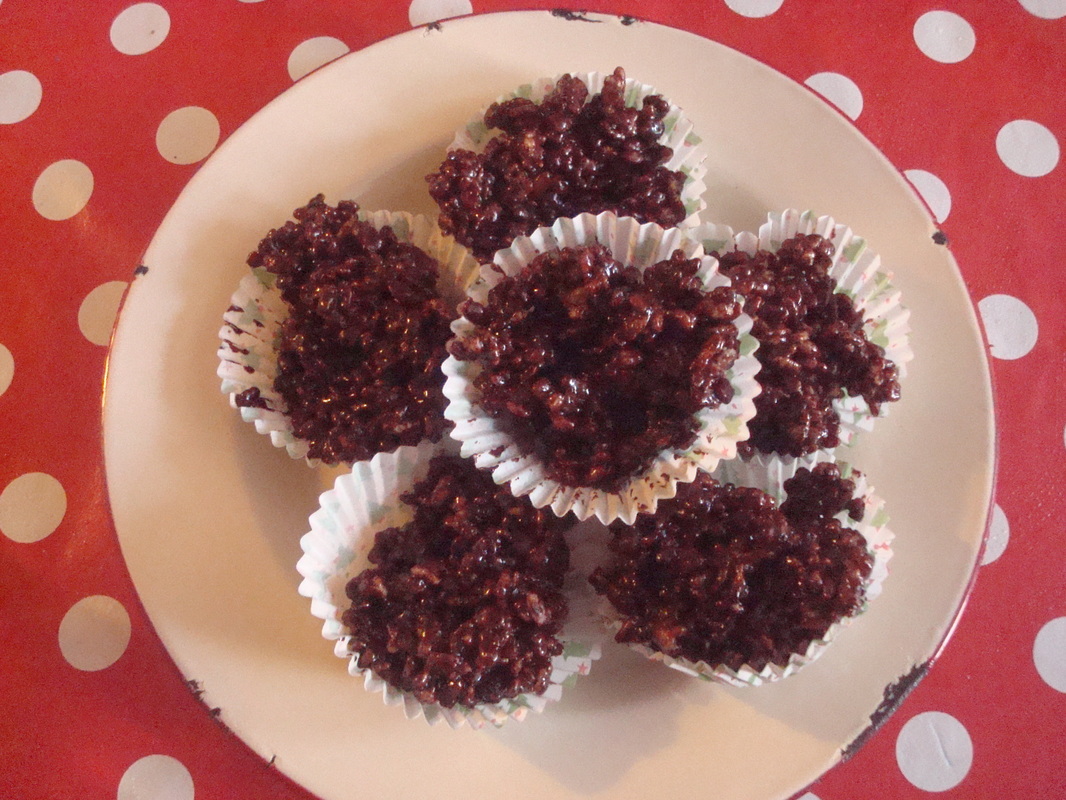
Super quick to make, sweet and delicious and no sugar or dairy! My kids love making crackle cakes and here is a fairly healthy version for you and your family to enjoy!
WHAT YOU NEED: 4oz coconut butter 4oz honey 6 tblsp cocoa 4oz rice crispies or cornflakes paper cupcake cases WHAT TO DO: - Melt coconut butter over a low heat - Stir in honey and cocoa - Mix rice crispies in completely - Spoon mixture into cupcake cases - Put in fridge for at least 30 minutes - Enjoy your tasty treat! 
0 Comments
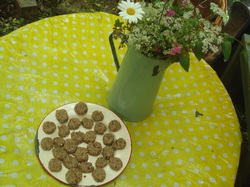
I know I have already posted this recipe on my raw recipes page, but as the summer holiday's are here now, I thought I would share it again. These little raw cookies are so tasty, so good for you and so quick to make, they are the perfect treat to have on hand for hungry kid's and adults!
WHAT YOU NEED: 1 handful sultanas 1/2 cup soft pitted dates 1/2 cup ground almonds 1 handful walnuts 1 tsp cinnamon 1 tsp vanilla extract 1 tsp almond essence 1/2 cup raw virgin coconut oil WHAT TO DO: - Put all ingredients except coconut oil into your food processor and pulse till breadcrumby. - Place coconut oil in a bowl or metal jug and place jug into a pan of hot water. - - Once melted add to mixture in food processor and blend till a dough ball consistency is reached. (If mixture is too wet, add a bit more ground almonds. If too dry, add a tiny bit of water or more coconut oil. ) - Take small bits of mixture and roll into little balls. - Place on a plate and slightly flatten each one with your thumb. - Place in fridge and you have a delicious, healthy sweet snack on hand for the whole family, and the best part is you can whip them up in about five minutes! 
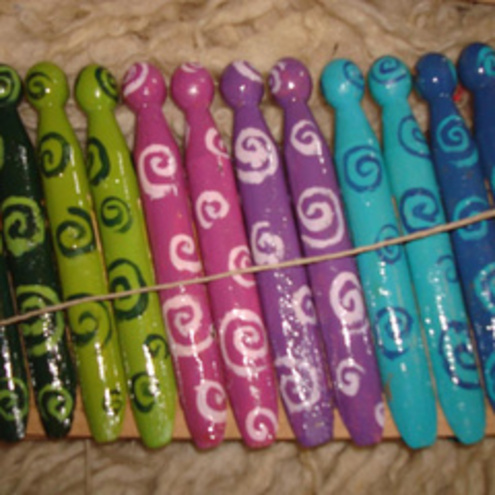
These dolly pegs make such cute gifts. I use mine mainly to seal packets of flour, lentils, coffee and stuff in the kitchen, but also to peg up my kid's artwork on a string and even to actually peg out the laundry! These are really easy and enjoyable to make, so grab your paintbrushes and lets get creative!
WHAT YOU WILL NEED: - A pack of wooden dolly pegs (very cheap on ebay) - Acrylic paints -Thin paintbrushes - Water based varnish - Strip of thick cardboard WHAT TO DO: - Lay newspaper out over your work surface - Wedge your piece of thick card to a standing position and stand your pegs along this - Paint your base colour/s onto the pegs - Once dry, paint cute little patterns onto the pegs. (My fave so far is tiny toadstools on a green background) - Once dry coat in varnish - If you are going to give these as a gift you could wrap them in a bundle with a pretty piece of ribbon and sweeten someone's day! 
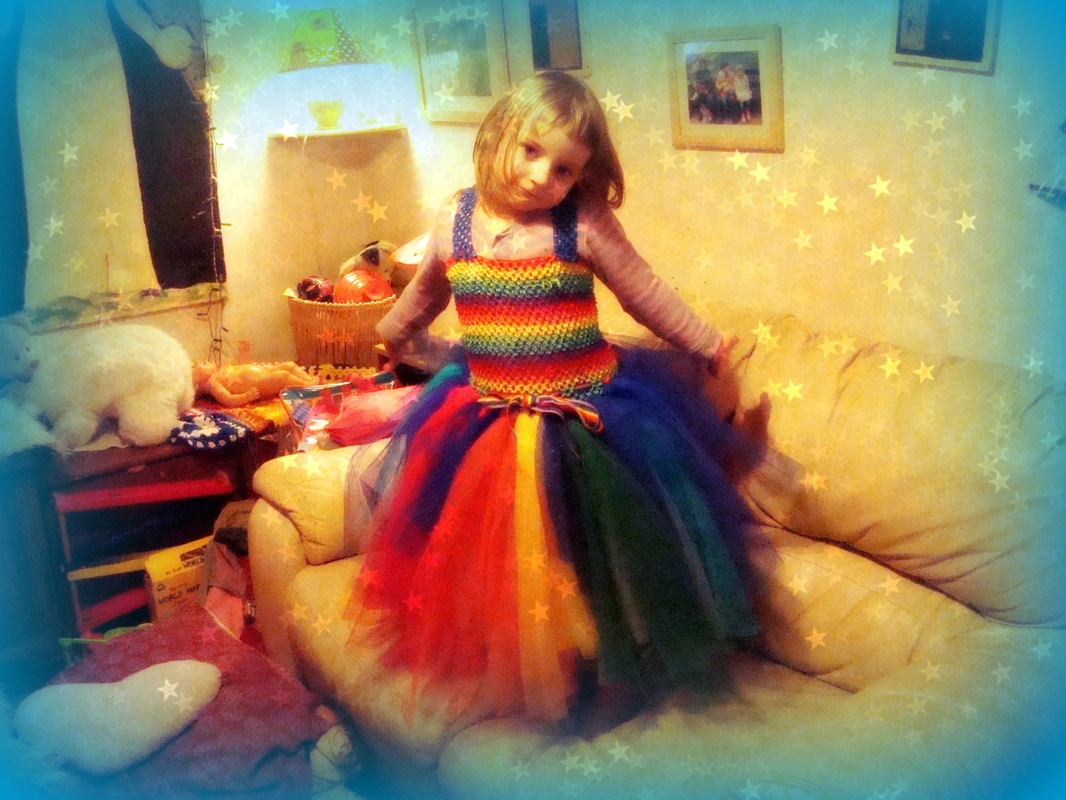
This project is fab if you have a little fairy or two or three in your family! It is so quick and easy, I had to stop myself making one in every colour! You can even get sparkly glitter tulle! ( We almost made a frozen inspired Elsa tutu, but rainbows won the day in the end! ) I say ' no sew' I did sew the straps on our one, but this tutorial is for tied on ribbons. The supplies are very cheap to buy on ebay and as you can see from the picture, you can create a magnificent tutu for your own little fairy!
WHAT YOU NEED: - a stretchy 'crochet tube top headband' ( Copy and past the link below into your browser ) http://www.ebay.co.uk/itm/Tutu-supplies-crochet-tube-top-headband-sz-1-5-6-9-10-or-12-inches-/370837030131?pt=LH_DefaultDomain_3&var=&hash=item56579c04f3 -approx 3 metres of tulle netting -1 metre of wide satin or lace ribbon WHAT TO DO: - First tear your tulle into strips approx 4-5 inches wide -Decide how long you want your tutu to be and cut the strips to that length x 2 plus about 3 inches. - Now stretch your crocheted bodice round something like a paint tin that will stay upright while you rotate your work. ( My girl was so excited about the imminent tutu that I actually made the tutu on her! ) - Take the first strip and tie onto the bottom of the bodice. ( I did this by folding the strip in half, feeding the fold through, then posting the two loose ends through the loop and pulling tight) - Continue all the way round tying strips as close together as possible. - For an extra fluffy tutu tie another whole layer above the first one. ( We made an under layer of white tulle and a top layer of rainbow colours. ) - Now cut you ribbon in half, put the tutu on your girl and tie the ribbon shoulder straps on in the best position for her. If you like you can tie each ribbon onto the front , then lay over the shoulders, then thread through the back near the middle and tie in big bow in the centre. - Now simply trim the straggly ends of tulle all to the same length and you are done! A simple, yet fabulous addition to any girl's wardrobe! 
|

Arisha's Inspiration CornerHi there, I am Arisha. Thanks for stopping by my little corner of inspirations! I LOVE making things. This blog is a place for me to share with you, lots of lovely things to make and do including: Subscribe below to receive each new post hot off the press direct to your email!
Archives
April 2019
Categories
|
 RSS Feed
